Yori Shell. The better CMD replacement
A recurring theme of many articles about Windows 10 is the lack of alternative native shells and terminals. This perpetual statement is not true as there are many shells and terminals for various user needs and windows versions. This article is the first section of a series that will present Windows’s solutions about shells, terminals, and command-line installers similar to apt or brew.
First of all, a lot of confusion is caused by the shell and the terminal’s role. A “shell” is a program or a layer that interacts with the operating system’s services through a set of commands, while the “terminal” is an application that runs and hosts the shells. A lot of frustration about CMD’s use was caused by the old and barebone terminal window that hosted it and not so much of the shell itself.
The CMD is a relic from the days of DOS (COMMAND.COM replacement) that has survived in our days. There are plenty of reasons for that. The initial windows users were DOS users; therefore, there was an element of familiarity.Moreover, the CMD is more manageable than UNIX shells’ complexity for most developers’ simple everyday needs.
Microsoft started to push PowerShell as the CMD replacement. The PowerShell was a fully object-oriented framework built upon the .NET Framework best suited for the Windows machines administration. Although powerful, it was a complete departure from the CMD simplicity.
Other options for Linux lovers are the bash shell emulation with the easier distribution through git for windows. Of course, for the most modern and compatible approach for Windows 10, there is the Windows Subsystem for Linux.
Installation
Yori shell fills the niche between something more straightforward or familiar than the object-oriented PowerShell approach and more modern than the decades-old CMD.
It is open-sourced, and there is a very detailed guide if you want to dive into more details. The installation is pretty straightforward. Just download the latest installation file and run it.
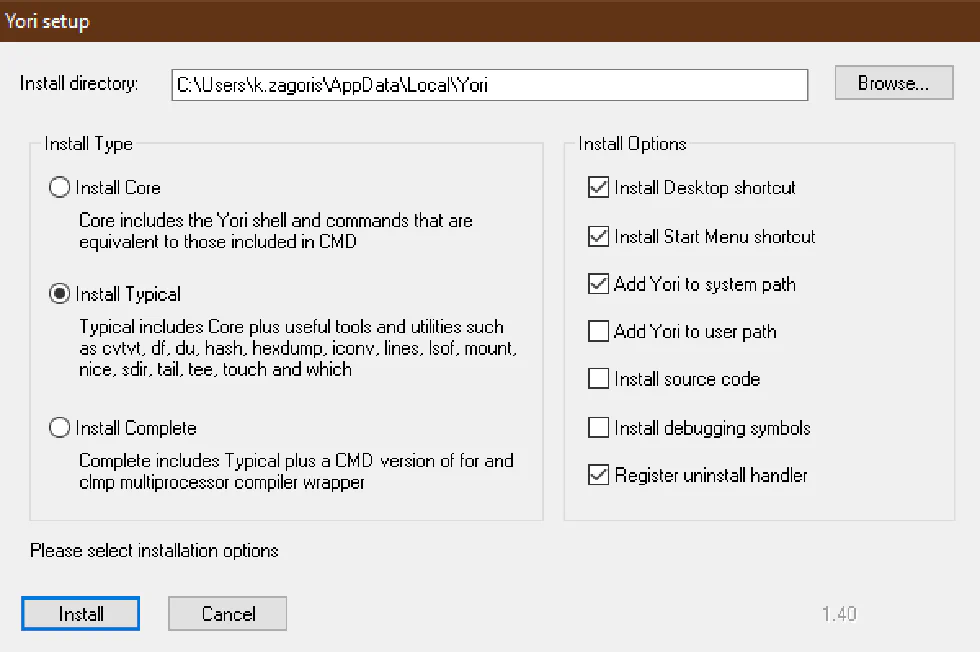
As the following installation image shows, there are three different install types: install only the Yori Shell and its equivalent to CMD commands or include some additional useful tools in addition to the above core installation type.
Yori Native Tools
As you have already figured out, Yori Shell not only comes with CMD command replacements but with a set of new tools that you can make your life easier. Some notables tools are :
- cpuinfo for displaying processor topology
- env for launching a process with a custom environment
- err for translating Windows error codes to text
- mem for displaying memory usage
- procinfo for displaying counters of process utilization
- ps for enumerating executing processes
- shutdn for shutting down or rebooting a system
- sponge for buffering and replaying output to eliminate temporary files
- timethis for measuring process execution time
- various tools for VHDs and ISOs files
- df for displaying a volume free space
- du for calculating disk usage of directories
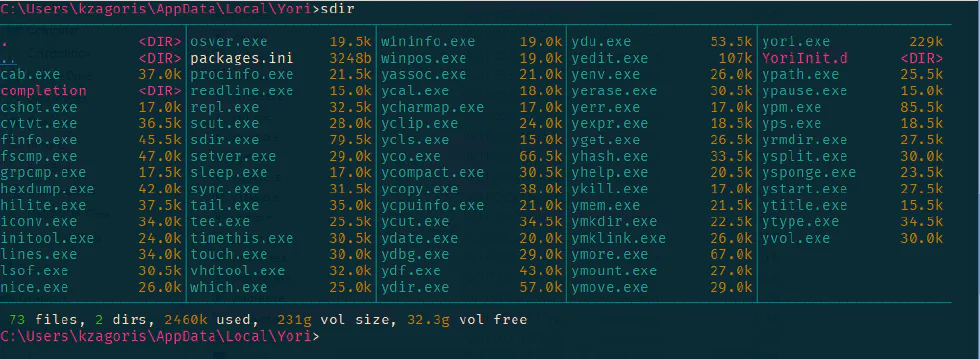
and my favorites (check image below)
- a better dir command for display the contents of the directory
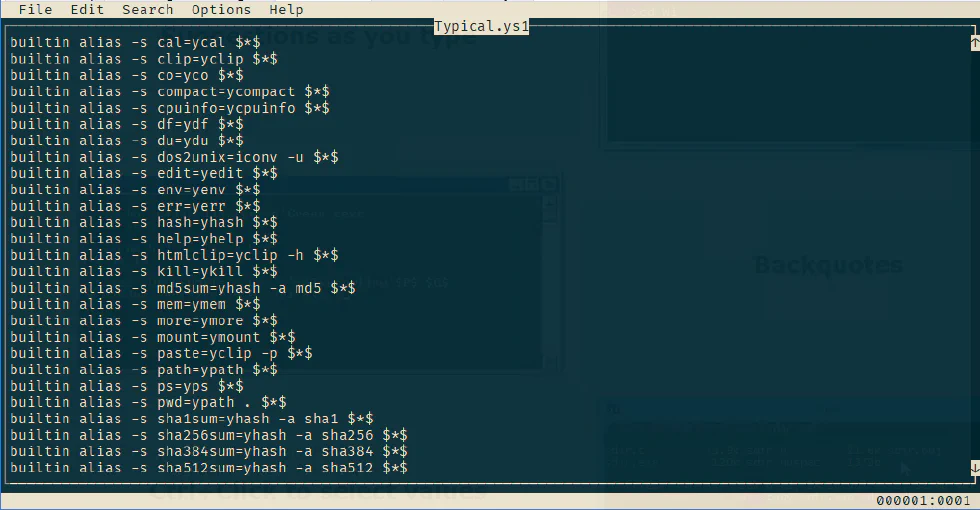
- a new edit text editor for editing text files in the terminal
Modern Shell Features
The Yori Shell has many similarities with the CMD and adds specific features that any respectable modern shell must include. Two such features are command history and tab completion.
The Up and Down arrow keys are used to traverse the previously executed commands. The Ctrl+Up uses the typed characters to search and match a previous command, and the Ctrl+Del deletes the command from history.
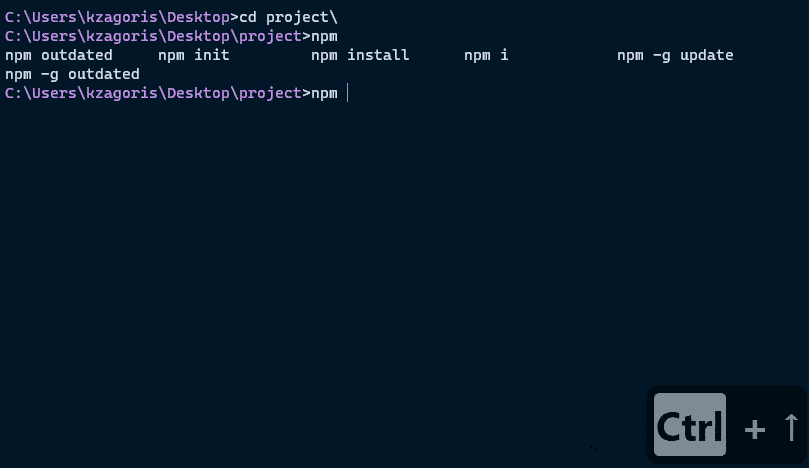
For preserving the history command during different sessions, you may provide a file for storing the commands. The file path is configured in the startup Yori script by setting the variable YORICOMPLETEPATH.
The Yori Shell from Malcolm Smith provides a configurable behavior for tab completion. The default mimics the CMD tab completion by completing the executable first and then tries to match folders or files. The above action can be changed by setting the YORICOMPLETELISTALL variable to 1 to provide a list of available matches like the bash. Similarly, setting the YORICOMPLETEWITHTRAILINGSLASH variable to 1 adds a trailing slash like the PowerShell.
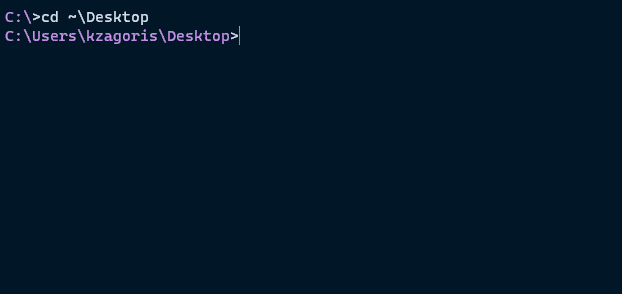
Another helpful feature is the ability to jump to special directories in your machine quickly. For example, the command cd ~ takes you to your home directory or the cd ~Appdata to the User’s AppData\Roaming directory. As you will expect, the list of these special directories is comprehensive:
- ~ expands to
Homedirectory, as set in%HOMEDRIVE%%HOMEPATH% - ~Appdata expands to
User's AppData\Roaming directory - ~Appdir expands to
Directory containing the Yori executable - ~Commonappdata expands to
The system application data directory - ~Commondesktop expands to
The system desktop, shared across all users - ~Commondocuments expands to
System documents, shared across all users - ~Commonprograms expands to
System's Start Menu\Programs directory - ~Commonstart expands to
System's Start Menu directory - ~Desktop expands to
User's desktop - ~Documents expands to
User's documents directory - ~Downloads expands to
User's downloads directory - ~LocalAppData expands to
User's AppData\Local directory - ~Programs expands to
User's Start Menu\Programs directory - ~Programfiles expands to
System's Program Files directory - ~Programfiles32 expands to
System's Program Files (x86) directory or Program Files in 32-bit environments - ~Start expands to
User's Start Menu directory - ~Startup expands to
User's Start Menu\Programs\Startup directory - ~System expands to
System's Windows\System32 directory - ~Windows expands to
System's Windows directory
Scripting
The scripting story is where it shines. It does not try to provide total compatibility for CMD scripts but instead executes them by CMD. Then, every change to the environment and aliases by the script is applied to the Yori process.
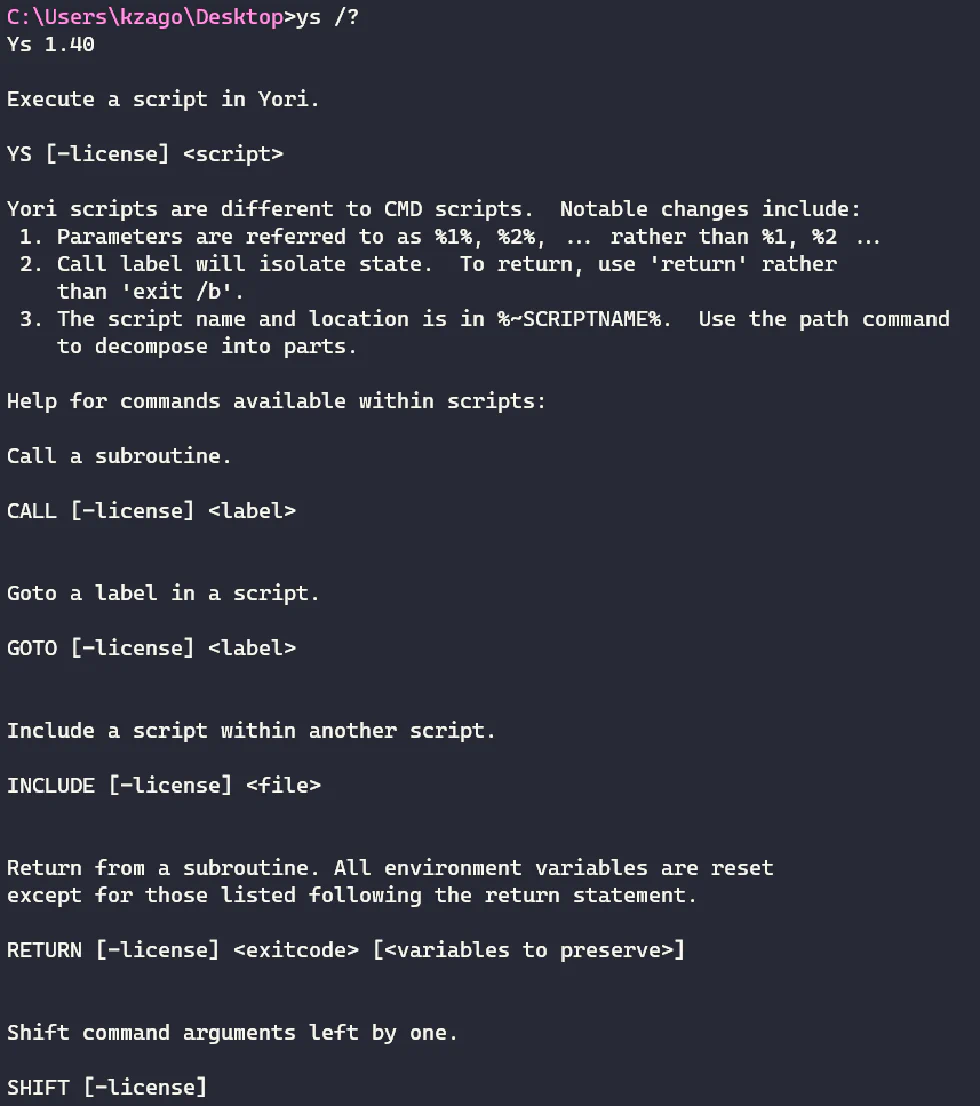
Moreover, it has a native script file extension that is .ys1, which provides extra commands that lessen the CMD scripting shortcomings. It provides a comprehensive outline of the Yori commands by running the ys /? command.
Configuration
The configuration of Yori Shell is done, as with most of the shells, by executing initialization scripts during the startup. It seeks the following locations:
Scripts under the ~AppDir\YoriInit.d directory or any script named ~AppDir\YoriInit* for system-wide configuration.
Scripts under the ~\YoriInit.d directory or any script name ~\YoriInit* for per-user configuration.
Updating
Another final feature which I am sure many will find useful is the ability to update by using the provide Yori Package Manager via the following command:
ypm -uThe Yori Shell satisfies my simple dev-based terminal needs; it is simple and fast! Hopefully, you will find the Yori Shell as intrigued as I am.
Share:
